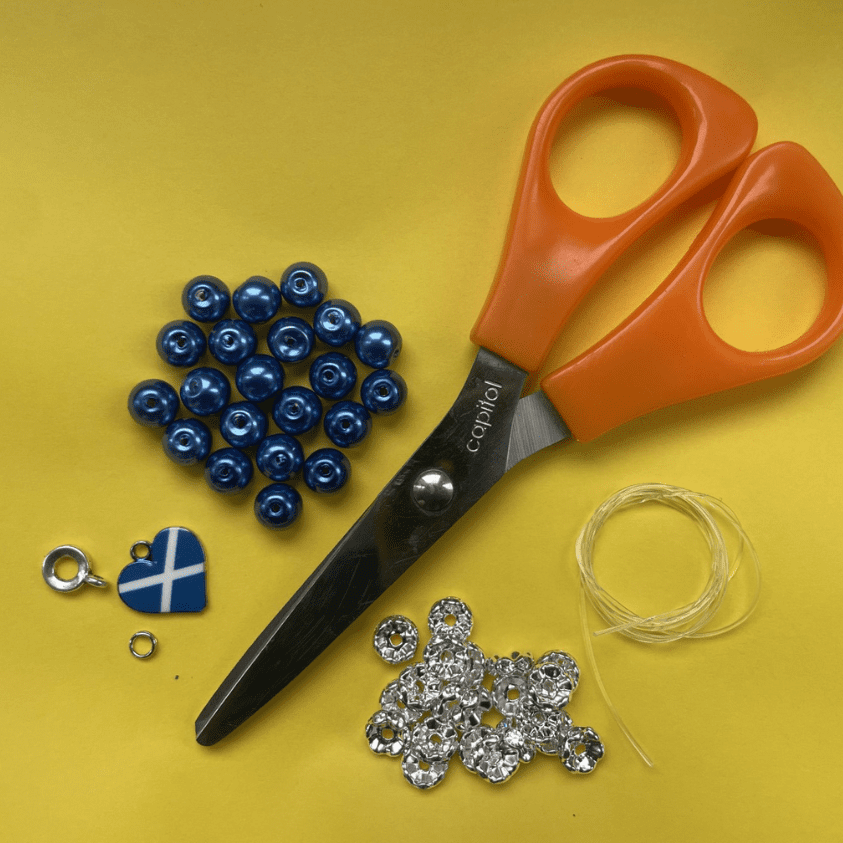
ND kindly sent Future Pathways a kit for making a bracelet so that we could show pictures of the process. These are included below, along with instructions for how to make a bracelet.
You will need:
• 21 beads
• 21 different coloured beads or ‘spacers’
• Elastic
• Clear nail varnish
• Scissors
Optional: if you want to add a charm to your bracelet, you will also need a charm, a charm carrier and a jump ring. (A jump ring connects different pieces together, for example it will connect the charm to the charm carrier.)

1 – Start by threading one colour bead onto elastic then another different colour bead.

2 – Repeat this 20 times.

3 – Add the charm to the charm carrier using the jump ring. Then add the charm to the bracelet.

4 – Tie a knot three times.

5 – Coat the knot with clear nail varnish. This will help it stay tied.

6 – Cut off the longer ends of the elastic and your bracelet is done!


